Waterproofing wet areas – stop leaking bathrooms NOW!
Andrew Golle shares the 7 key trades and 12 FREE practices that can prevent waterproofing failure!
Waterproofing failure continues to account for approximately 80% of all building defects.
We tend to be ready to blame the membrane and waterproofer when a leak occurs, however other surrounding trades can often be the cause, if not contributing factors towards waterproofing failure.
Builders and supervisors are accountable for supervision of all trades and rely on those trades to perform their works to the correct specifications and following manufacturer’s requirements and relevant Australian Standards.
Unfortunately, minor mistakes, omissions or following practices that contravene manufacturer’s requirements can set the stage for waterproofing failure. Often these incorrect practices are followed just because, “That’s the way we’ve always done it.”
Preparation by other trades is critical to the successful service life of the waterproofing membrane and become intrinsic parts of the complete waterproofing system.
Here are the 7 trades that the builder CAN control. Here are 12 things that the builder can implement that will change the landscape of wet area construction practices for FREE, and without even looking at the membrane application.

1 Concreter: dish around the floor wastes. Membranes applied to the structural slab are required to drain at the drainage control flange. This requires cup grinding of the concrete around waste pipes in order to rebate the flange below slab level. If not done, water will pond on the substrate slab up to 3mm, subjecting the membrane to full immersion, which it may not be rated for. AS 3740 – 2010 Waterproofing of Domestic Wet Areas recommends that where a membrane is placed beneath a screed bed, that the bed should be drained. This cannot be followed where ponding at the drainage flange is occurring.
Accurate set out of boxing for rebated wet areas. Inaccurate set outs can result in the framing bottom plates overhanging the slab rebate in wet areas. Sheets are installed with unsupported bottom edges, subjecting the membrane to stress at the floor/wall junction. constriction by the bed or floor tiling, without release zones can result in membrane rupture where bond breakers are restricted from functioning.
2 Plumber: stop using plastic block-off fittings where they protrude back behind wall sheeting. This prevents the waterproofer from sealing from the substrate sheet to the penetration pipe. Either cut the sleeves back or use domed or hexagonal block-off fittings.
Set plumbing combinations forward enough to allow for sealing from the sheet to the combination body and not to the tap spindle. AS 3740 – 2010 requires that the taps are serviceable without disturbing the penetration sealant.

3 Carpenter: ensure sheet joints in the shower are nogged to support sheet edges. Unsupported sheet joints can result in membrane rupture at the joint. Ensuring that the sheets are back blocked will support the sheet edge.
4 Plasterer: Use wet area base coat in wet areas! Stop them using internal base coat and topping behind membranes. This practice is not supported by sheet manufacturers, and using the excuse of, “That’s the way we’ve always done it” doesn’t remove the manufacturer’s written instructions. Internal base coat and topping are friable and do not allow for optimum bond of the primer or membrane. Membranes fail on set joints!
Allow 6-10mm gap at sheet floor joints and at movement joints, as per manufacturer’s instructions. This includes at internal corners and unsupported sheet joints, or you may get ‘nail pop’. These gaps allow for compressive movement, and reduce stress on the membrane at junctions and joints.
5 Waterproofer: buy a sponge. Wash down all surfaces you are about to apply primers and membranes. Dust is a contaminant and will not disappear under primers. Reduced bond strength, blistering and peel failure are all common results of dust contamination.
6 Tiler: talk to the waterproofer. Ensure that compatible adhesives are matched with the membrane. The best practice is to follow the one manufacturer’s compatibility chain of materials.
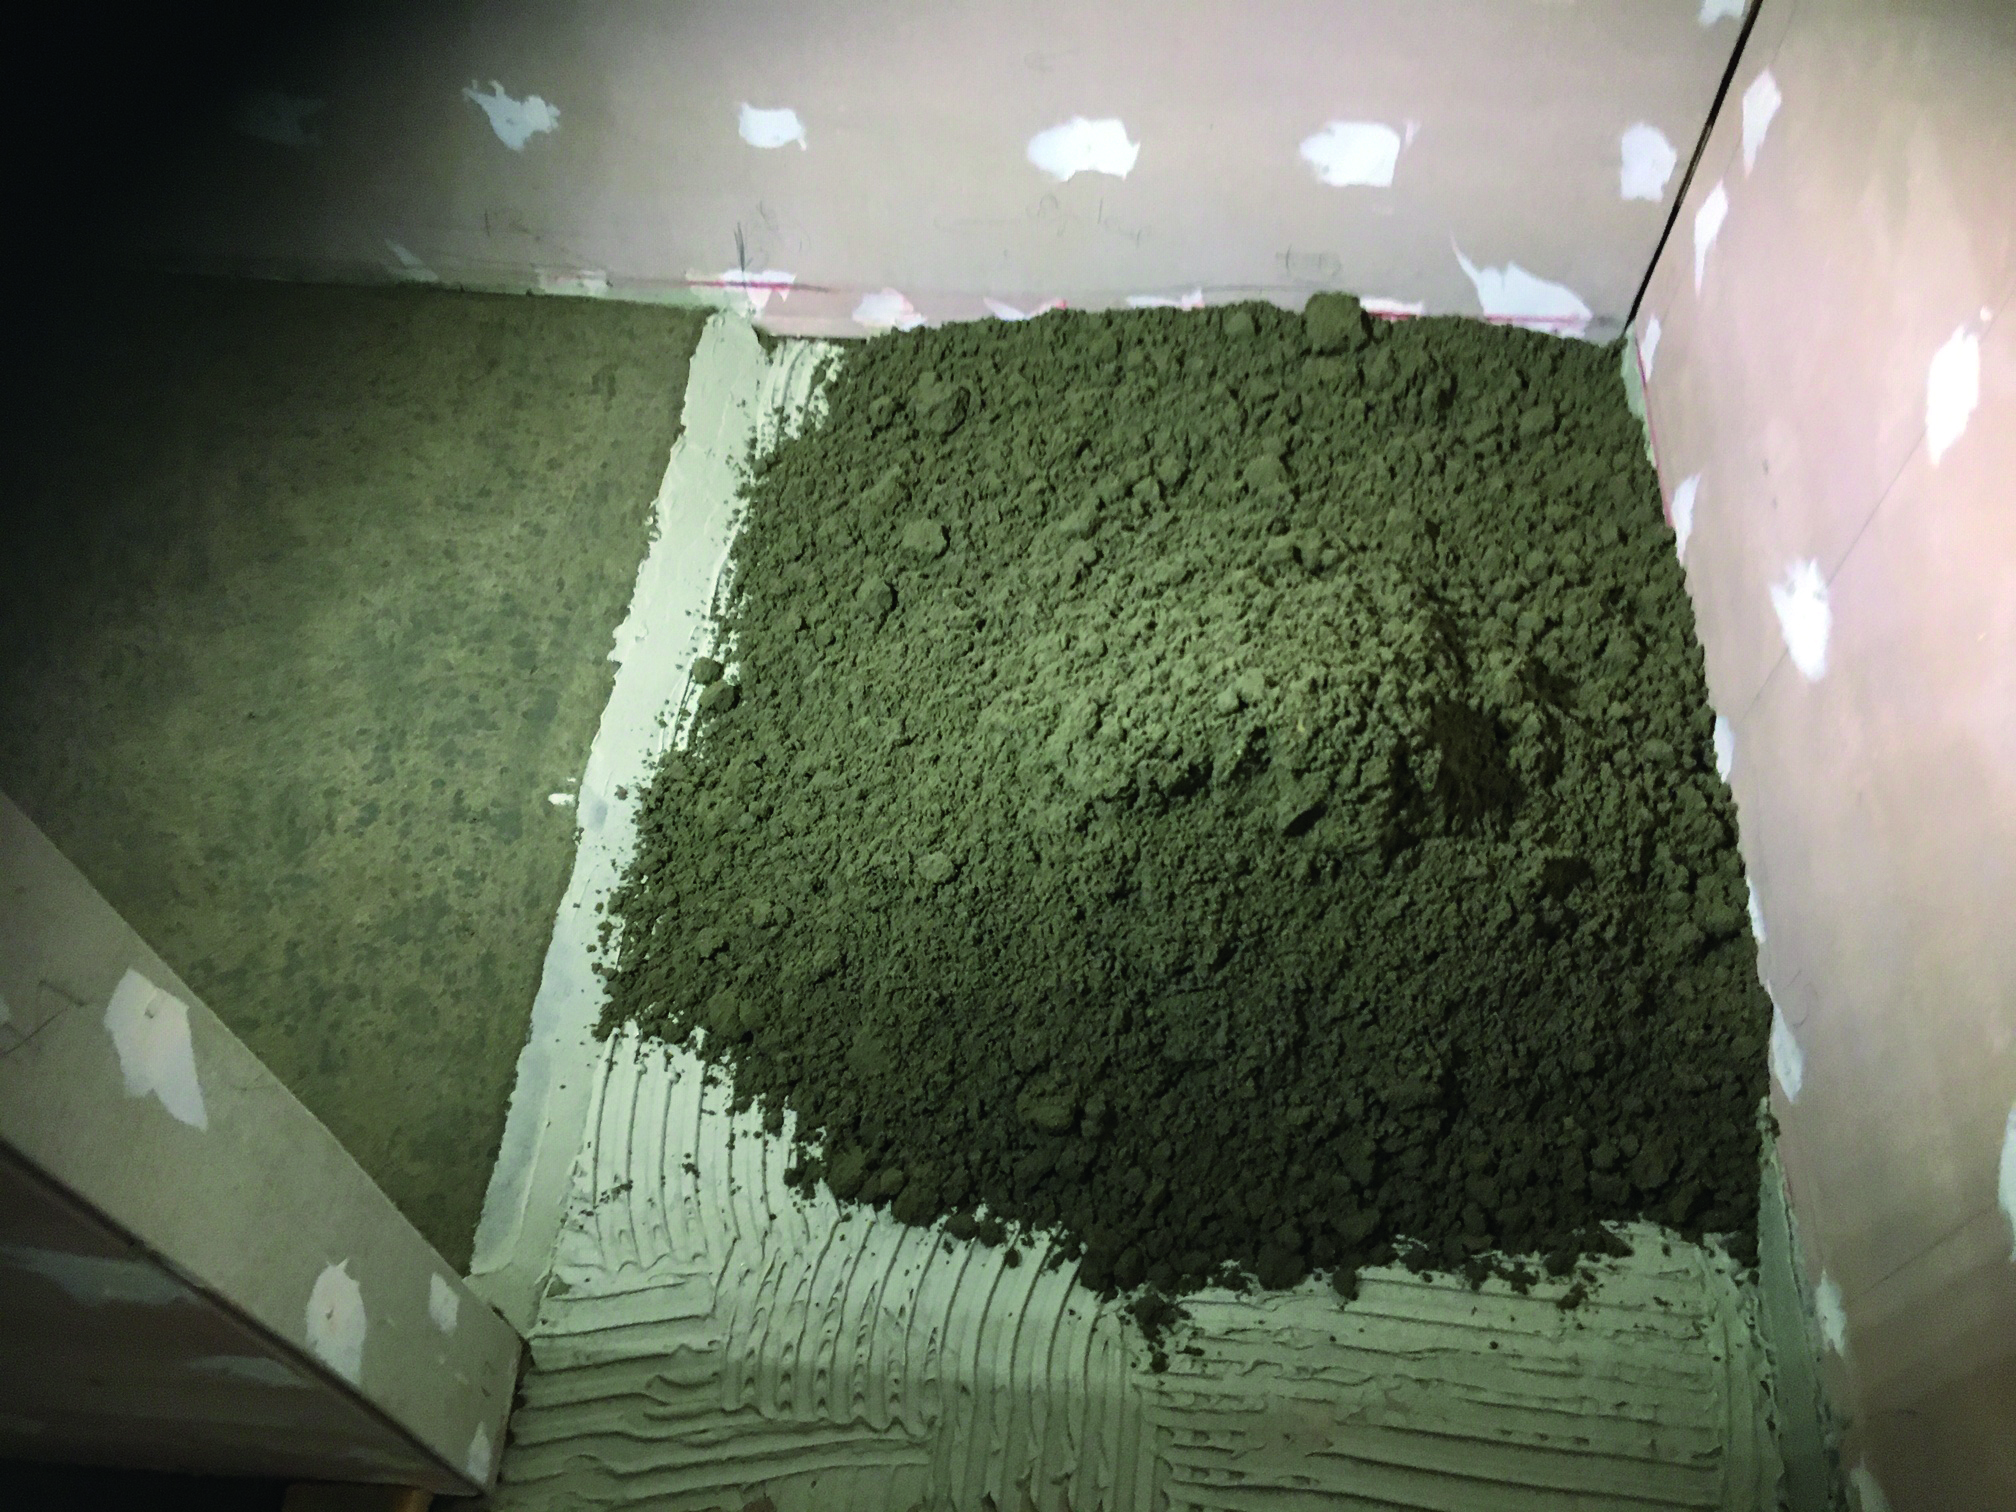
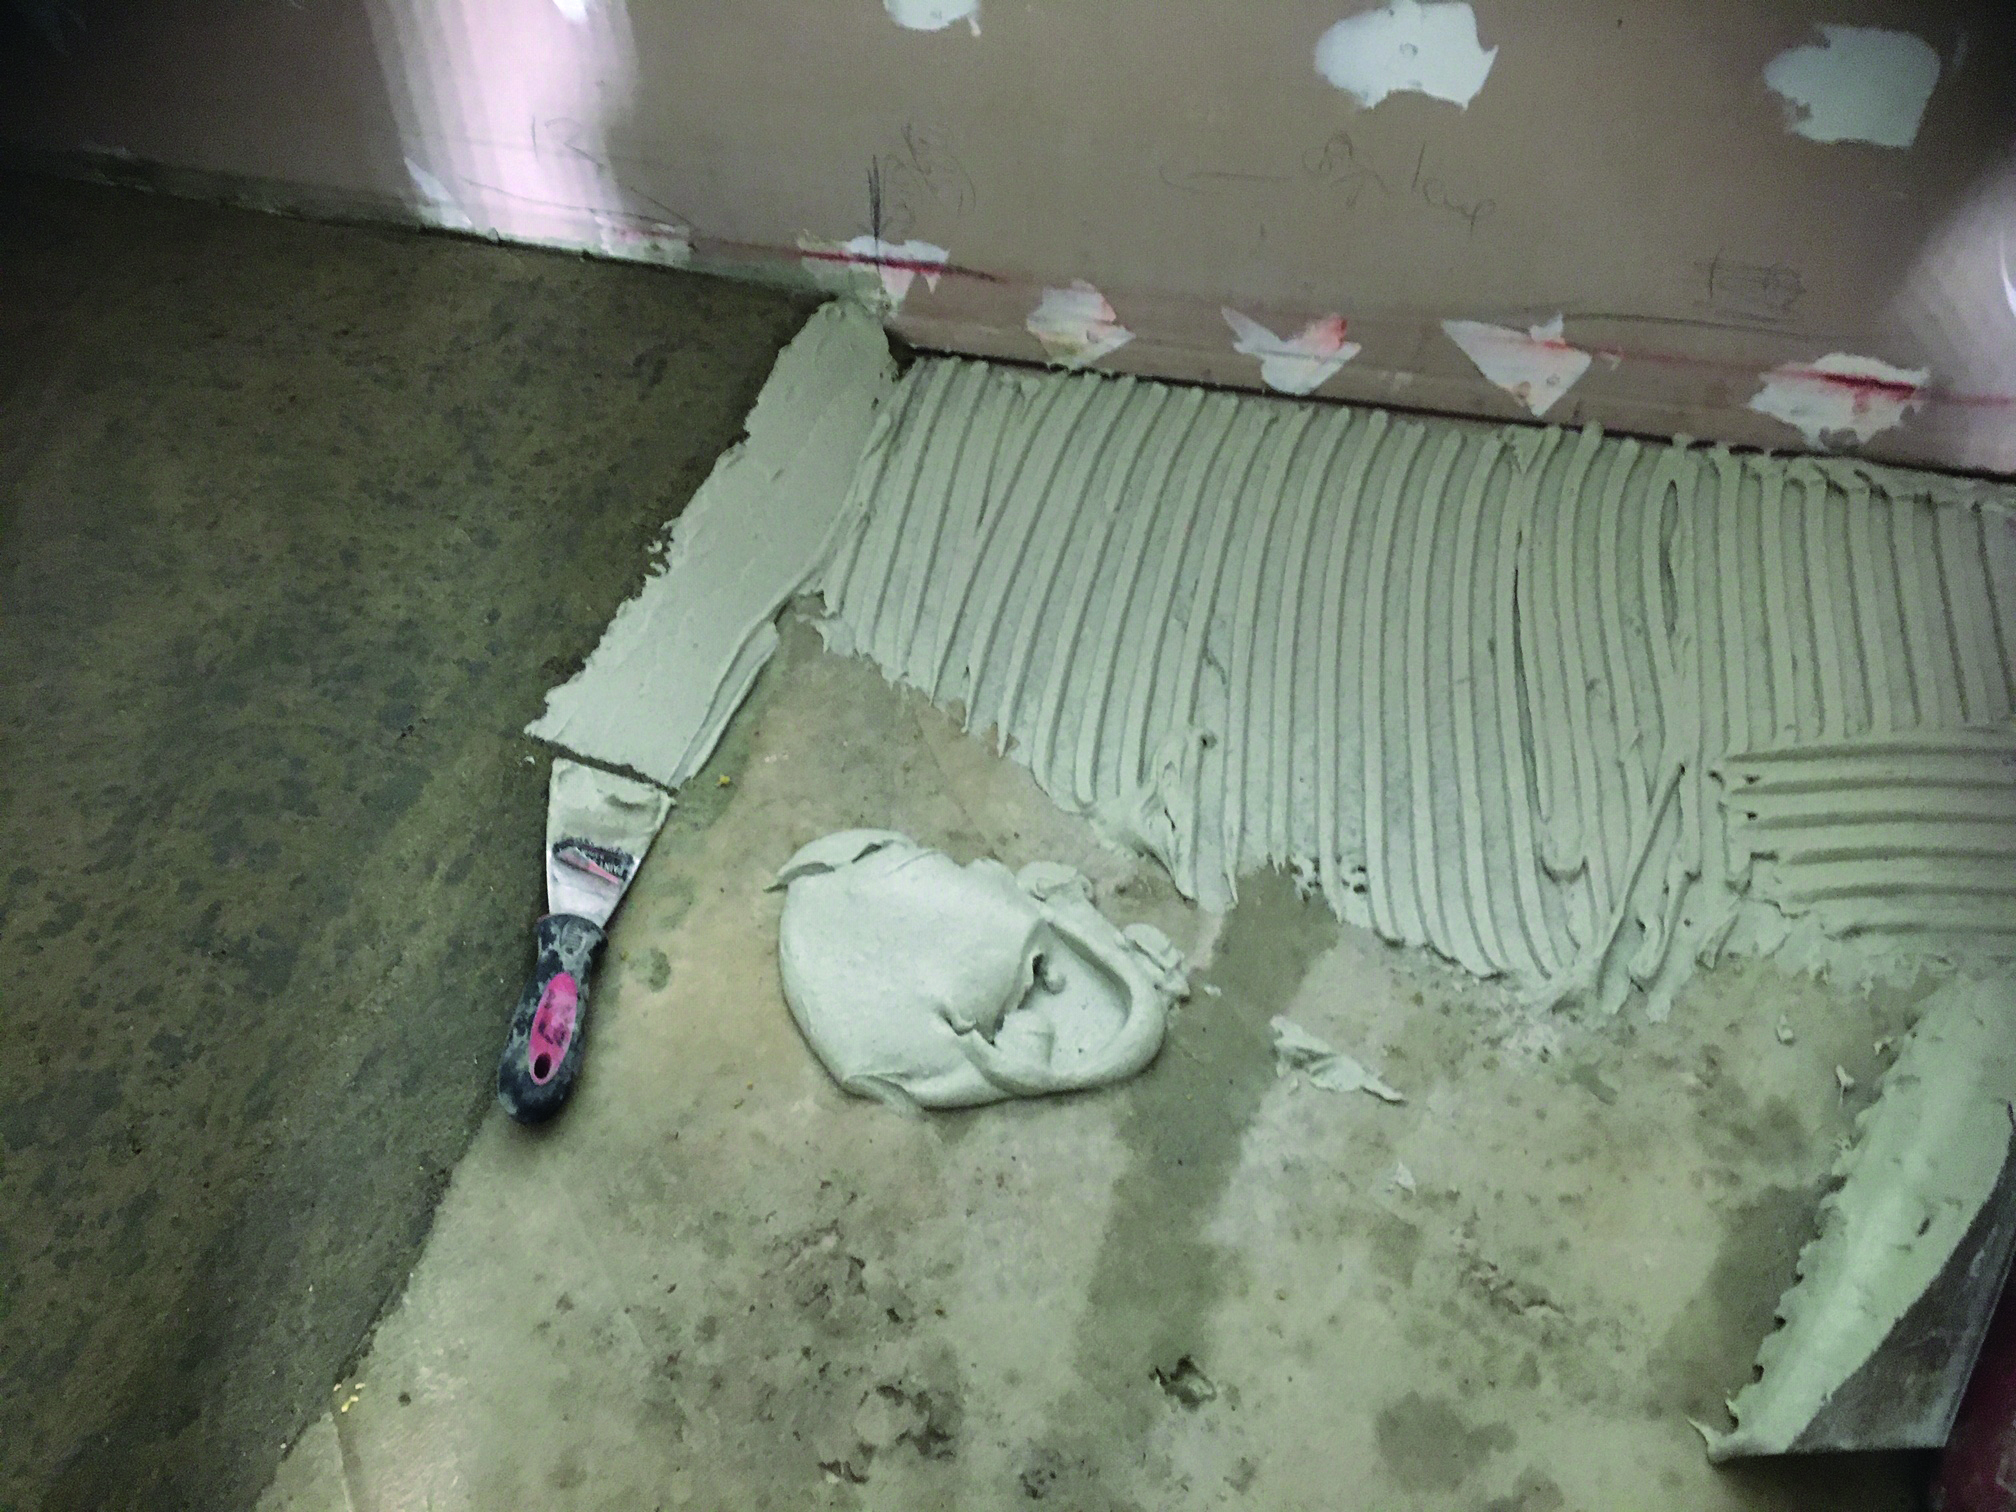
Install bonded mortar beds. Unbonded or floating mortar beds apply abrasive action on membranes when applied below the bed. They also result in curling, which can stress the membrane at floor/wall junctions for topical membrane applications. Bonding or adhering the mortar bed to the background substrate will provide a bonded stable substrate.
7 Fit-off crew: seal all holes. Holes are created after waterproofing, where fixing points are drilled through finishes and membranes to install shower screens, grab rails, vanities etc. Install compatible sealants into penetration holes as specified by the waterproofer/ manufacturer. Applying a compatible sealant into the hole will seal at substrate penetration level.
“What harm might come to the owner or their structure? To a building scientist water is considered to be the universal solvent, meaning that eventually water has the potential to destroy everything,” Master Builders Australia technical manager Max Rafferty says.
“Prolonged dampness occurs because of a wet areas inability to dry. This can happen for a number of reasons. Isn’t it strange that we spend all this time creating shelter to essentially keep water out, only to reintroduce it?
It was not that long ago that toilets were out the back and bathrooms and laundries were detached from sleeping quarters,” Max concludes.
Giving each of these trades a couple of things to do may seem trivial but will ensure that the waterproofing system has a chance to function and that the waterproofer has a substrate that they can work on, free from preparation defects. And it’s FREE!
